 Save
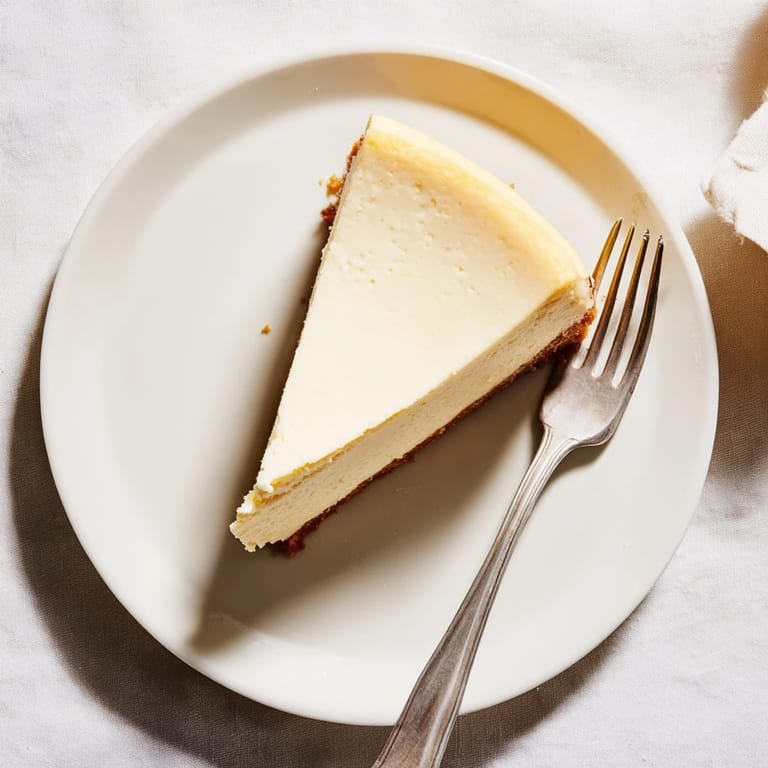
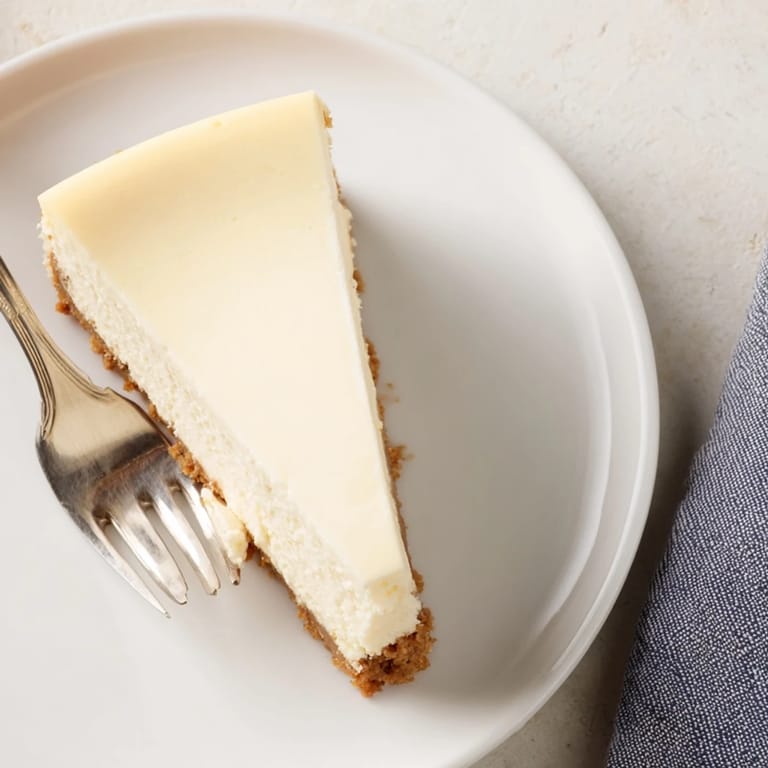
Save The first time I attempted a proper New York cheesecake, I spent twenty minutes pressing graham crumbs into a springform pan while my grandmother hovered nearby, insisting I was pressing too firmly. She was right, as she usually was about these things, though I didn't admit it until I tasted how perfectly that crust held together against all that creamy filling. Now whenever I make this recipe, I can hear her voice reminding me that patience is what makes cheesecake special, not just the ingredients.
I made this cheesecake for my sister's engagement dinner, serving it alongside fresh berries and champagne. Everyone went quiet after that first bite, and someone actually asked if I'd ordered it from a fancy bakery downtown, which might be the best compliment I've ever received. Watching friends scrape their plates clean while laughing around the table made all those hours of chilling completely worth it.
Ingredients
- Graham cracker crumbs: These create the classic slightly sweet, buttery foundation that balances the rich filling perfectly
- Unsalted butter: Using melted butter helps bind the crust together without making it too greasy
- Full-fat cream cheese: Never substitute with low-fat versions as this is essential for achieving that authentic dense texture
- Sour cream: Room temperature sour cream adds tang and helps create the smoothest possible filling
- Cornstarch: This secret ingredient prevents cracking and helps stabilize the cheesecake without affecting the flavor
- Fresh lemon juice: A small amount brightens the rich filling and cuts through all that creaminess
Tired of Takeout? 🥡
Get 10 meals you can make faster than delivery arrives. Seriously.
One email. No spam. Unsubscribe anytime.
Instructions
- Prepare your workspace:
- Preheat your oven to 160°C (325°F) and grease a 23 cm (9-inch) springform pan thoroughly, then line the base with parchment paper for easy removal later.
- Build the perfect crust:
- Combine graham cracker crumbs, melted butter, sugar, and a pinch of salt in a bowl until the mixture feels like wet sand, then press it firmly and evenly into the bottom of your prepared pan.
- Start baking the base:
- Bake the crust for exactly 10 minutes until it smells toasty and fragrant, then set it aside to cool while you prepare the filling.
- Cream the cheese properly:
- Beat room-temperature cream cheese in a large mixing bowl for about 2 minutes until it's completely smooth and free of any lumps before adding the sugar.
- Add the remaining filling ingredients:
- Mix in sour cream, vanilla, lemon juice, cornstarch, and salt until just incorporated, being careful not to overmix at this stage.
- Gently incorporate the eggs:
- Add eggs one at a time, mixing on low speed and scraping down the bowl after each addition to avoid incorporating too much air.
- Assemble the cheesecake:
- Pour the silky filling over your cooled crust and smooth the top with a spatula, tapping the pan gently on the counter to release any trapped air bubbles.
- Create the water bath:
- Place the springform pan inside a larger roasting pan and carefully pour hot water into the outer pan until it reaches halfway up the sides of the cheesecake pan.
- Bake to perfection:
- Bake for 55 to 65 minutes until the edges are set and slightly puffy but the center still has a gentle wobble when you gently shake the pan.
- Cool gradually:
- Turn off the oven, crack the door open slightly, and let the cheesecake cool slowly in the oven for a full hour to prevent cracks from forming.
- Finish cooling properly:
- Remove from the oven, run a sharp knife around the edge to loosen it from the pan, then cool completely to room temperature before refrigerating.
- Chill thoroughly:
- Refrigerate for at least 6 hours or preferably overnight to let the flavors develop and the texture set completely.
- Add optional topping:
- Whisk together sour cream, powdered sugar, and vanilla until smooth, then spread over the chilled cheesecake if you want that classic diner-style finish.
- Serve it up:
- Dip your knife in hot water and wipe it clean between slices for those perfect restaurant-worthy portions.
 Save
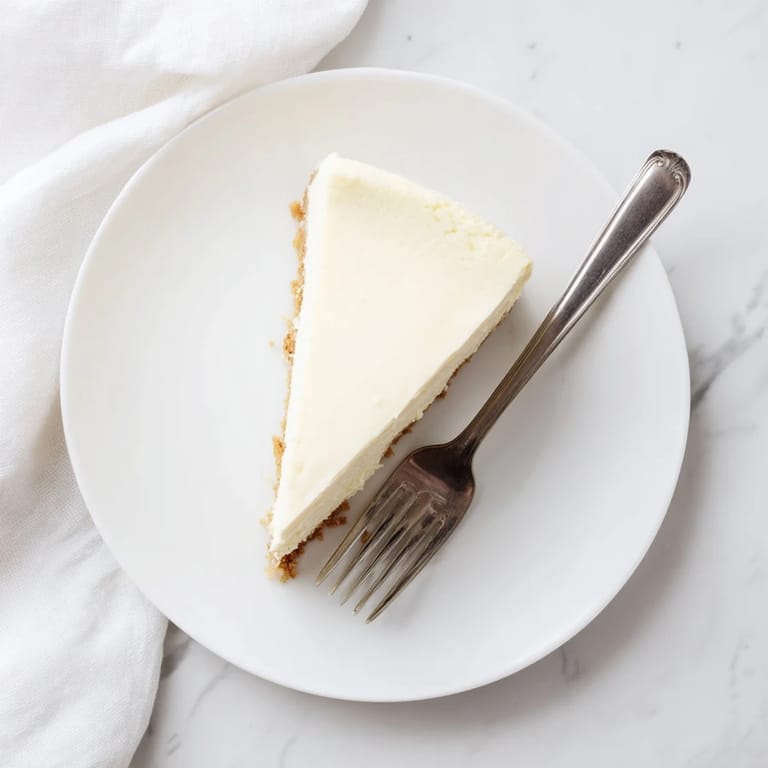
Save This cheesecake has become my go-to celebration dessert, appearing at birthdays, holidays, and dinner parties whenever I want to make people feel truly special. There's something deeply satisfying about slicing into that perfectly smooth surface and watching everyone's faces light up with that first bite.
Making It Your Own
While I love the classic vanilla version, sometimes I'll swirl in melted chocolate or add a layer of fresh berries between the crust and filling. The recipe is forgiving enough to handle these variations while still maintaining that signature New York style texture.
Serving Suggestions
A plain slice is beautiful on its own, but I've found that a drizzle of warm fruit compote or a dollop of freshly whipped cream takes it over the top. Strong coffee or a glass of late harvest wine cuts through the richness beautifully.
Storage and Make-Ahead Tips
The beauty of this cheesecake is that it actually improves after a day or two in the refrigerator, making it perfect for preparing ahead of parties. Wrap it tightly and it will keep for up to five days, though it rarely lasts that long in my house.
- Freeze individual slices wrapped in plastic for those sudden dessert cravings
- Bring the cheesecake to room temperature for 30 minutes before serving for the best texture
- Always run your knife under hot water between cuts for those picture-perfect slices
 Save
Save There's something deeply comforting about having a perfect cheesecake recipe in your back pocket, ready whenever you need to make someone feel celebrated. Hope this brings as much joy to your table as it has to mine.
Recipe FAQs
- → Why do I need room temperature ingredients?
Room temperature ingredients blend together smoothly without lumps. Cold cream cheese creates chunks that won't incorporate properly, leading to an uneven texture. Taking everything out 1-2 hours before starting ensures the filling becomes perfectly silky and smooth.
- → What is the purpose of the water bath?
The water bath creates gentle, moist heat that prevents the cheesecake from cracking, drying out, or overcooking around the edges. It allows the custard to cook slowly and evenly, resulting in that characteristic creamy texture throughout.
- → How long should I chill the cheesecake before serving?
For the best texture and flavor, refrigerate for at least 6 hours, though overnight is ideal. This resting period allows the flavors to develop and the filling to set completely, making clean slices much easier to achieve.
- → Why does my cheesecake crack on top?
Cracking typically occurs from overmixing, overbaking, or cooling too quickly. Avoid opening the oven door frequently, use the water bath method, and follow the gradual cooling process of leaving the door cracked open for an hour before refrigerating.
- → Can I make this without a springform pan?
While a springform pan makes removal easiest, you can use a regular round cake pan lined with parchment paper that extends up the sides. The parchment handles will help lift the chilled cheesecake out, though you'll lose the decorative ring shape.
- → How do I get clean slices?
Dip your knife in hot water and wipe it clean between each slice. The heat helps the knife glide smoothly through the dense filling. For even cleaner cuts, you can also run the knife under hot water and dry it thoroughly before slicing.