 Save
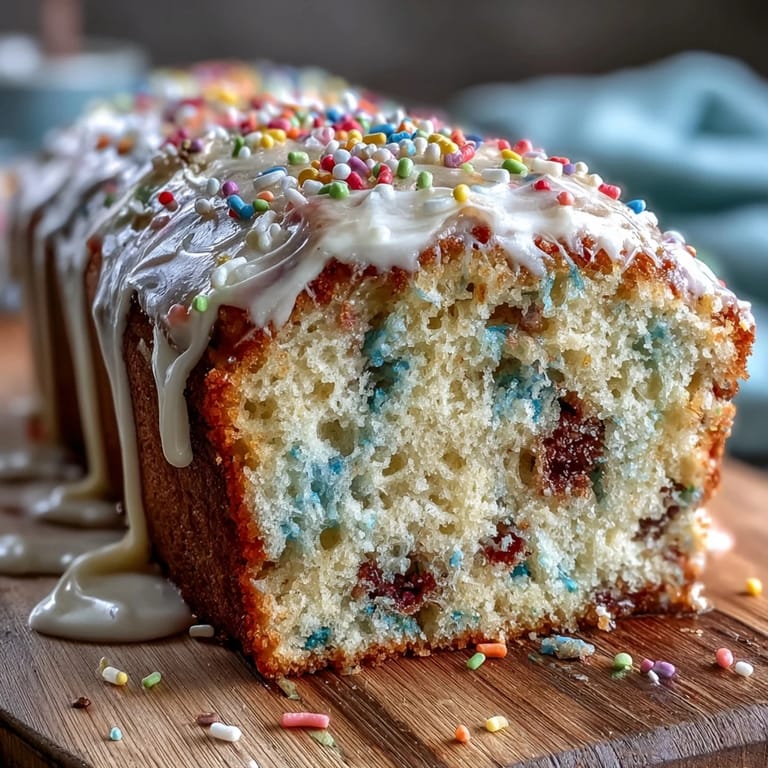
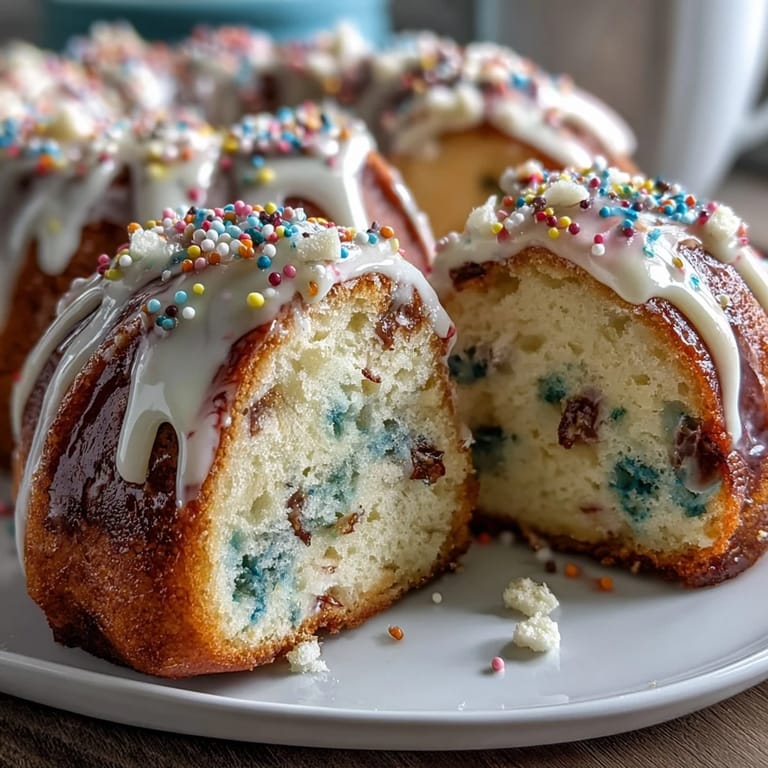
Save My neighbor knocked on the door one April afternoon with a box of pastel sprinkles she'd impulse-bought at the grocery store, asking if I could turn them into something for her daughter's birthday party. I'd never considered sprinkles as anything more than a topping until that moment, and something about their soft rainbow shimmer sparked an idea for a cake that felt less like a dessert and more like edible joy. The result was this vanilla cake dotted with color, crowned with buttercream that looked like a painter's palette had melted into frosting.
I made this cake for the first time on a gray morning when I'd promised to bring something to a work gathering, and I remember being surprised by how quickly the kitchen filled with that warm vanilla smell. My mom called while I was frosting it and, hearing the mixer whirring in the background, immediately knew what I was baking because apparently the sound of buttercream being beaten into clouds is somehow recognizable through a phone. It became our thing that spring.
Ingredients
- All-purpose flour (2 1/2 cups): The foundation matters here—I've learned that scooping directly from the bag compacts it, so spoon and level gently for a more tender crumb.
- Baking powder and baking soda (2 1/2 tsp and 1/2 tsp): These work together to give you that light, airy texture, and having both ensures the cake rises evenly without being too dense.
- Unsalted butter (1 cup for cake, 1 1/2 cups for frosting): Room temperature butter beats in air, which is the secret to that fluffy crumb—cold butter will fight you every step of the way.
- Granulated sugar (1 1/2 cups): The creaming process with butter should take a full three minutes; rushing it means you lose the air pockets that make the cake tender.
- Eggs (4 large): Room temperature eggs incorporate smoothly and create a more stable batter, so let them sit on the counter while you prep everything else.
- Vanilla extract (4 tsp total): Pure vanilla is worth the investment because the flavor lingers in a way that imitation simply cannot match.
- Whole milk and sour cream (1 cup plus 1/2 cup): The sour cream adds moisture and tang, balancing the sweetness and keeping the cake tender even days later.
- Rainbow sprinkles (2/3 cup): You want jimmies, not nonpareils—they fold in without crushing, and quality brands use coloring that won't bleed into your pale yellow batter.
- Powdered sugar (5 cups, sifted): Sifting removes lumps and prevents your buttercream from being grainy; it's one of those small steps that changes everything.
- Food coloring gels in pastel shades: Gel coloring is thicker and more concentrated than liquid, so you need less and it doesn't thin out your frosting like drops would.
Tired of Takeout? 🥡
Get 10 meals you can make faster than delivery arrives. Seriously.
One email. No spam. Unsubscribe anytime.
Instructions
- Set the stage:
- Preheat your oven to 350°F and line those two 9-inch pans with parchment paper—this prevents sticking and makes releasing the cakes almost effortless. Have all your ingredients at room temperature sitting out; this is non-negotiable for a smooth, well-incorporated batter.
- Build the dry foundation:
- Whisk your flour, baking powder, baking soda, and salt in a bowl; this aeration helps distribute the leavening evenly so you don't get dense pockets. Set it aside and trust that you've mixed it enough.
- Cream butter and sugar until clouds form:
- This should take about three full minutes with an electric mixer on medium speed, and you'll notice the mixture going from pale yellow to almost white as air gets incorporated. Stop occasionally to scrape down the bowl so everything creams evenly.
- Incorporate eggs with care:
- Add them one at a time, beating well after each addition so each egg fully blends in before you add the next. This creates a stable emulsion that keeps your cake tender and moist.
- Whisk milk and sour cream together:
- Combine them in a separate bowl—this slight mixture helps them incorporate more smoothly into your batter than adding them separately.
- Alternate dry and wet ingredients like a gentle dance:
- Add one-third of the flour mixture, then half of the milk mixture, then another third of flour, then the remaining milk, and finish with the last of the flour, mixing just until combined after each addition. Overmixing at this stage develops gluten and toughens your cake, so keep it brief.
- Fold in the sprinkles with a whisper:
- Use a rubber spatula and gently fold them in by hand; the mixer will crush them into tiny, colorless fragments. The moment they're distributed evenly, stop.
- Divide and smooth:
- Split the batter evenly between your pans and smooth the tops with an offset spatula so they bake evenly.
- Bake with patience:
- Bake for 28 to 32 minutes—every oven runs differently, so start checking at 25 minutes with a toothpick. When it comes out clean or with just a few moist crumbs, you're done.
- Cool with intention:
- Let them rest in the pans for 10 minutes so they set slightly, then turn them onto a wire rack to cool completely. Frosting a warm cake causes it to slide around, so patience here matters.
- Beat butter into silk:
- For the buttercream, beat your room-temperature butter for two minutes until it's smooth and pale, which lightens the color and texture. This small step makes a noticeable difference in the final frosting.
- Add powdered sugar gradually:
- Mix it in on low speed to prevent a cloud of sugar from escaping your mixer and coating your entire kitchen. Once it's incorporated, bump up the speed and beat until fluffy.
- Finish with milk, vanilla, and salt:
- These final additions create a spreadable consistency and brighten the vanilla flavor—beat on high for two to three minutes until it looks pillowy.
- Divide and tint with color:
- Split the buttercream into four bowls and add just a tiny dab of gel coloring to each, stirring until you reach a soft pastel shade. You can always add more color, but you cannot take it out.
- Decorate with freedom:
- Spread or pipe your colored buttercream onto the cooled cake layers, swirling the colors together for a marbled effect that looks effortlessly charming. Let your hand move naturally—perfection is less important than personality here.
 Save
Save There was a moment during my friend's daughter's birthday party when I watched a group of kids crowd around the cake, and one of them gasped at how the colors seemed to shimmer. That small gasp made the whole project feel worth it, and since then, I've made this cake for nearly every spring celebration that comes my way.
Why Room Temperature Matters
I used to skip the step of bringing ingredients to room temperature, thinking it was an unnecessary frill, and my cakes always had a slightly grainy texture that I couldn't explain. The moment I started letting eggs, butter, and milk sit on the counter for 30 minutes before baking, everything changed—the batter mixed together more smoothly, and the final cake had that tender, almost cloud-like crumb that makes you want another slice. Cold ingredients simply don't incorporate the same way, and tiny pockets of unmixed butter create those odd dense spots that catch you by surprise when you bite into a slice.
The Sour Cream Secret
Adding sour cream to a vanilla cake was a revelation I borrowed from my grandmother, who swore it was the difference between a cake that dried out by day three and one that stayed moist all week. The tangy undertone balances the sweetness beautifully, and the moisture content means you can actually keep this cake covered at room temperature without it turning into a hockey puck. I tried Greek yogurt once as a substitute when I ran out of sour cream, and while it worked in a pinch, the sour cream's thicker consistency and slight tang truly make the difference.
Decorating Without Overthinking
The first time I decorated this cake, I spent an hour trying to make it look like something from a bakery window, and it still looked homemade because my hand was tense and uncertain. The second time, I simply dolloped the colored buttercream onto each layer and swirled them together with a spatula, not worrying about precision, and somehow that version looked more charming and approachable. The imperfection is what makes people smile, and once I accepted that, decorating became fun instead of stressful.
- Soft pastel colors are more forgiving than bright ones because small imperfections look intentionally subtle rather than like mistakes.
- If you pipe instead of spreading, use a large round tip rather than a small one so the buttercream flows smoothly without constant pressure.
- A cake turntable makes decorating easier, but a lazy Susan works just fine if that's what you have in your kitchen.
 Save
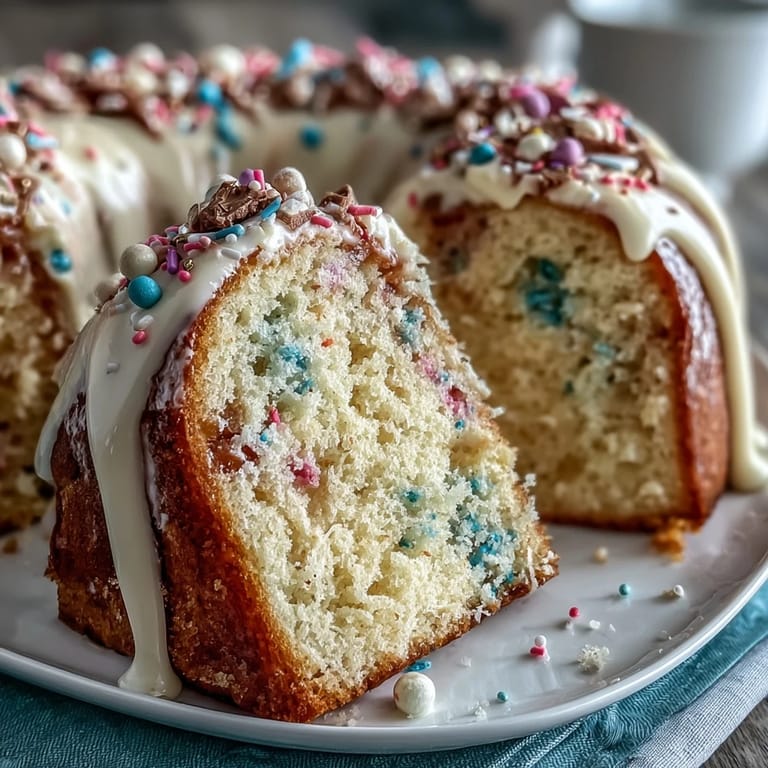
Save This cake has become my spring signature, the one thing I'm asked to bring to gatherings now that word has spread about how it tastes as good as it looks. Every time I make it, I think of that April afternoon and my neighbor's hopeful face, and I'm grateful that a box of sprinkles turned into something people genuinely remember.
Recipe FAQs
- → What makes the cake moist and tender?
The combination of sour cream and whole milk in the batter adds moisture and richness, resulting in a tender crumb.
- → Can I substitute sour cream with another ingredient?
Yes, Greek yogurt can be used as a substitute for sour cream to maintain moisture and texture.
- → What type of sprinkles should I use?
Use jimmies (not nonpareils) sprinkles to prevent color bleeding and maintain bright, distinct colors.
- → How do I achieve the pastel colors in the buttercream?
Divide the buttercream into portions and tint each with food coloring gels in pastel shades like pink, blue, yellow, and purple.
- → What is the best way to bake the batter evenly?
Divide the batter evenly between two 9-inch pans and bake until a toothpick comes out clean, then cool completely before frosting.
- → Can this be made as cupcakes?
Yes, bake cupcakes for 22 to 24 minutes using the same batter to achieve similar texture and flavor.